


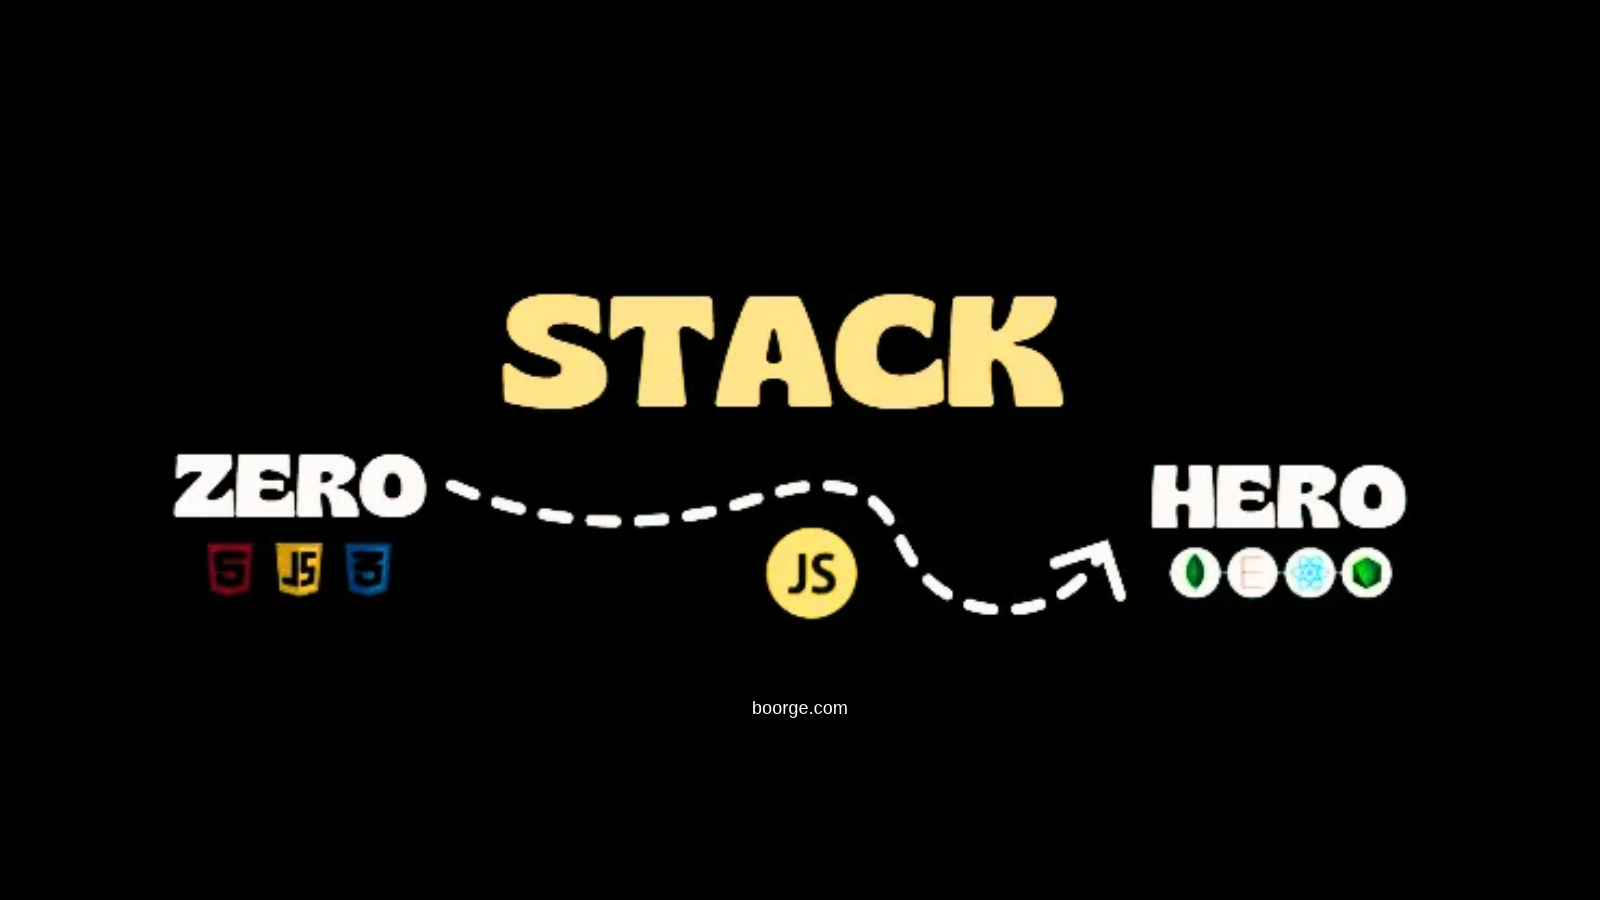
When I first decided to learn web development, I had more questions than answers. What should I learn first? Should I start with HTML or JavaScript? What exactly is React? Why do developers use Node.js? And the biggest question of all: What does it actually mean to become a full-stack developer?
The internet was full of tutorials, programming languages, frameworks, and tools. Every developer seemed to recommend something different. One person suggested learning React, another recommended Python, and someone else said backend development was the most important skill. Honestly, it was confusing.
But eventually, I understood something important: You don’t need to learn everything at once. You just need to know what to learn next.
I started with the basics, explored different technologies, built small projects, made mistakes, fixed bugs, and gradually connected everything together. What once looked like a complicated world of programming slowly started making sense.
Today, I want to share that journey with you.
Table Of Contents
- Understanding the World of Web Development
- Step 1 – Building the Frontend
- Step 2 – Managing State and Application Data
- Step 3 – Exploring Backend Development
- Step 4 – Authentication and File Uploads
- Step 5 – Testing and Developer Tools
- Step 6 – Deploying Your First Website
- Step 7 – Building Real-World Projects
- My First Live Portfolio
- A Beginner-Friendly Full Stack Roadmap
- Common Mistakes Every Beginner Should Avoid
- Conclusion: Your Journey Starts with One Line of Code
This isn’t just a list of programming languages or development tools. It’s a beginner-friendly guide to understanding how modern websites are built, which technologies you can explore, and how you can move from writing your first HTML page to creating a complete full-stack application.
So, if you’re starting from zero, let’s take this journey together.
Understanding the World of Web Development
Before writing your first line of code, it’s helpful to understand what web development actually means.
Think about a website you visit every day. Maybe it’s an online shopping website, a social media platform, or your favourite blog. Have you ever wondered what happens behind the screen when you click a button, submit a form, or log in to your account?
A website is more than just colours, images, and buttons. Different technologies work together to make everything function smoothly. Some technologies handle what you see, while others manage information, process requests, and communicate with databases.
Web development is generally divided into three major areas: frontend, backend, and full stack.
Frontend vs Backend vs Full Stack
Frontend development focuses on the part of a website that users interact with. It includes layouts, buttons, navigation, animations, images, and everything displayed in the browser.
Backend development handles the logic behind the website. It processes requests, communicates with databases, manages user accounts, and provides information to the frontend.
Full-stack development brings both sides together. A full-stack developer understands how to build the user interface and connect it with the server, database, and other services.
Think of a restaurant.
- Frontend is the dining area, menu, and everything customers experience.
- Backend is the kitchen where orders are processed and prepared.
- Database is where important information, such as orders and ingredients, is stored.
All these parts work together to provide a complete experience.
Once I understood this basic concept, learning web development became much easier because I could see where every technology belonged.
Step 1 – Building the Frontend
Every website needs a user interface, and that’s where frontend development begins.
I decided to start with the three fundamental technologies of the web: HTML, CSS, and JavaScript.
These technologies work together to create the websites we use every day. Instead of jumping directly into advanced frameworks, I focused on understanding these foundations first.
HTML, CSS, and JavaScript
1. HTML – The Structure
HTML stands for HyperText Markup Language. It provides the basic structure and content of a webpage.
Think of HTML as the skeleton of a website. It tells the browser where to display headings, paragraphs, images, links, buttons, and forms.
For example, when you open a blog, HTML defines the title, article content, images, and different sections.
2. CSS – The Design
CSS stands for Cascading Style Sheets. It controls how a webpage looks.
It helps you add colours, backgrounds, fonts, spacing, borders, and layouts. With CSS, you can turn a simple HTML page into an attractive and responsive website.
I also explored concepts like Flexbox, CSS Grid, and media queries to understand how websites adjust to different screen sizes.
3. JavaScript – The Interaction
JavaScript makes websites interactive.
Imagine clicking a button and opening a popup, submitting a form, displaying new information, or updating a shopping cart without refreshing the entire page. JavaScript helps make these interactions possible.
I learned about variables, functions, arrays, objects, loops, events, DOM manipulation, and asynchronous programming.
These three technologies form the foundation of frontend development.
My learning tip: Don’t just watch tutorials. Open your code editor and start creating something. Build a personal webpage, a simple calculator, or a basic landing page. Small projects help you understand concepts much better than simply reading about them.
Moving Forward with React
After learning the frontend basics, I wanted to understand how developers create larger and more dynamic applications.
That’s when I explored React.js.
React is a JavaScript library used to build user interfaces. Instead of writing everything in one large file, React allows developers to divide an application into smaller, reusable components.
For example, a website might have separate components for:
- Navigation bars
- Headers and footers
- Login forms
- Product cards
- Search bars
- User profiles
These components can be reused wherever needed, making applications easier to develop and maintain.
I started exploring important React concepts such as components, props, state, hooks, conditional rendering, and event handling.
One of the most interesting things I learned was that changing data can automatically update the user interface.
It made building interactive applications feel much more organised.
As you become comfortable with React, you can also explore TypeScript and Next.js. TypeScript adds static typing to JavaScript, while Next.js provides a framework for building React applications with additional features such as routing and server-side capabilities.
You don’t need to learn all these technologies immediately. Understand React fundamentals first and move forward gradually.
Step 2 – Managing State and Application Data
When I started building applications with React, I noticed something interesting.
A simple website was easy to manage, but as I added more features, handling information became challenging.
Imagine building a shopping website. You have a product list, shopping cart, user profile, and checkout page. These different sections sometimes need access to the same information.
How do you manage that data without making your application confusing?
That’s where state management becomes useful.
In React, state represents information that can change over time and affect what users see on the screen.
I started with two important React concepts:
useState: It helps manage local component state, such as input values, counters, menus, and selected items.
useContext: It allows components to access shared information without passing props through every level of the component tree.
As applications become more complex, developers can explore additional tools:
- Redux Toolkit: Helps manage shared application state in a structured way.
- Zustand: A lightweight option for managing global state.
- TanStack Query (React Query): Helps manage server data, including fetching, caching, and updating information.
One important lesson I learned was that not every application needs a complicated state management library.
Start with React’s built-in features. Understand the problem first, then choose the right tool.
My learning tip: Build a small shopping cart application. Try adding products, removing items, and calculating the total price. It is a great way to understand how state management works in real projects.
Step 3 – Exploring Backend Development
Until this point, most of my learning was focused on what users could see and interact with.
But I had another question: Where does all the information come from?
When you log in to a website, the application verifies your account information. Similarly, submitting a contact form sends your details to the backend for processing. Even when you purchase a product, the application must securely process and store your information.
The frontend alone cannot handle all these responsibilities.
That’s where backend development comes in.
The backend is responsible for application logic, data processing, API communication, authentication, and database operations.
Node.js and Express.js
I decided to explore JavaScript on the backend using Node.js.
Node.js is a JavaScript runtime that allows developers to execute JavaScript outside the browser. This means you can use JavaScript for both frontend and backend development.
For someone who already understands JavaScript, Node.js can be a comfortable starting point.
Next, I explored Express.js, a web framework for Node.js.
Express makes it easier to create backend applications and APIs. APIs allow different parts of an application to communicate with each other.
For example, imagine a login page.
- A user enters their email and password.
- The frontend sends the information to the backend.
- The backend validates the request and checks the user’s credentials.
- The backend communicates with the database when necessary.
- The application sends an appropriate response.
This is a simple example of how frontend and backend technologies work together.
I also started learning about HTTP methods:
- GET: Retrieve information.
- POST: Send or create information.
- PUT/PATCH: Update information.
- DELETE: Remove information.
To understand APIs better, I used Postman to send requests and inspect responses.
Creating my first API was an exciting experience because I could finally see how the frontend and backend communicate.
Understanding Databases
A website often needs to remember information even after a user closes the browser.
For example, an online shopping application needs to store user details, products, orders, and payment-related records.
That’s the job of a database.
During my learning journey, I explored two major types of databases.
1. MongoDB – NoSQL Database
MongoDB stores information in flexible, document-based structures.
It is commonly used in JavaScript-based applications and works well with data that benefits from flexible document models.
2. MySQL and PostgreSQL – SQL Databases
These databases use structured tables with rows and columns.
They are useful when an application needs clearly defined relationships between different types of information.
Here’s a simple comparison:
| Feature | MongoDB | MySQL / PostgreSQL |
|---|---|---|
| Database type | NoSQL | SQL |
| Data structure | Documents | Tables |
| Query approach | Document queries | SQL |
| Relationships | Flexible document references | Relational structure |
| Common uses | Flexible application data | Structured and relational data |
I also learned that choosing a database depends on the project. There is no single database that is perfect for every application.
My learning tip: Start by creating a simple API using Express. Then connect it to a database and practise creating, reading, updating, and deleting records. These four operations are commonly known as CRUD.
Step 4 – Authentication and File Uploads
A professional website often needs more than just displaying information.
Think about applications where users can create accounts, log in, update their profiles, and upload profile pictures.
To build these features, you need authentication and file-handling functionality.
Authentication is the process of verifying a user’s identity.
For example, when you enter your login details, the application checks whether they belong to a valid account.
Some technologies and services I explored include:
JWT (JSON Web Tokens): A token format commonly used to exchange authentication information between systems.
Firebase Authentication: A service that helps developers add authentication features without building the entire system themselves.
Clerk and Auth0: Services that provide authentication and user-management features.
While learning authentication, I also understood that security is extremely important. Passwords should be securely hashed, sensitive information should be protected, and authentication tokens must be handled carefully.
For file uploads, I explored Multer, a middleware commonly used with Express applications to handle multipart form data.
For example, imagine building a blogging website where users can upload images along with their articles. Multer can help receive those uploaded files on the backend.
File storage and file upload processing are different things, so larger applications may also use dedicated cloud storage services.
My learning tip: Begin with a simple authentication project. Understand registration, login, validation, and protected pages before moving towards advanced authentication systems.
Step 5 – Testing and Developer Tools
Writing code is only one part of software development.
You also need to make sure that your application works correctly.
Imagine spending days building a website. Everything looks perfect, but suddenly a button stops working or a form sends incorrect information. These problems are called bugs, and they are a normal part of development.
That’s why testing is important.
Some tools I explored include:
Jest: A JavaScript testing framework used to write and run automated tests.
React Testing Library: Helps test React components from the user’s perspective.
Postman: Useful for testing backend APIs and checking responses.
ESLint: Helps identify potential problems and maintain consistent coding practices.
Prettier: Automatically formats code to make it cleaner and easier to read.
Another important part of my learning journey was understanding Git and GitHub.
Git is a version control system that tracks changes in your code. GitHub is a platform where developers can host repositories and collaborate on projects.
With Git, you can save different versions of your work, understand what changed, and return to an earlier version when necessary.
Some basic Git commands worth learning are:
git init
git add .
git commit -m "Initial commit"
git push
git pull
These commands are part of a developer’s everyday workflow.
My learning tip: Start using Git from your first project. Don’t wait until you become an advanced developer. Building this habit early will make managing your projects much easier.
Step 6 – Deploying Your First Website
After learning frontend, backend, and database concepts, I wanted to do something exciting.
I wanted to put my website on the internet.
Until this point, most of my projects were running locally on my computer. I could open them in my browser, but other people couldn’t access them.
That’s where deployment comes in.
Deployment means making your application available in an environment where other people can use it.
Different platforms provide different hosting options.
| Platform | Common use |
|---|---|
| GitHub Pages | Static websites |
| Vercel | Frontend and supported full-stack applications |
| Netlify | Frontend and static websites |
| Render | Backend services and web applications |
| Railway | Application and database hosting |
For databases, you can explore managed services such as MongoDB Atlas and hosted PostgreSQL providers.
The exact setup depends on your application and the platform’s current pricing and limitations. Don’t assume every service offers unlimited free hosting.
One thing I found interesting was how deployment platforms can connect directly with GitHub repositories.
You push your code to GitHub, connect the repository to a hosting platform, configure the necessary settings, and deploy your application.
Of course, real-world deployment also involves environment variables, build settings, domain configuration, HTTPS, and sometimes database connections.
But once you understand the basic process, everything becomes much easier.
My learning tip: Don’t wait until your project is perfect. Deploy a small project first. Learning how to put your work online is an important part of becoming a developer.
Step 7 – Building Real-World Projects
Learning programming languages and frameworks is important, but building projects is where everything starts coming together.
You might understand HTML, CSS, JavaScript, and React individually. But can you use them together to build something useful?
That’s the real challenge.
When you build a project, you face practical questions. How should the page look? Where should the data come from? What happens when a user clicks a button? How do you handle errors?
These questions help you think like a developer.
If you’re a beginner, here are some projects you can try:
Beginner Projects
- Personal portfolio website.
- Responsive landing page.
- Simple calculator.
- To-do list application.
- Weather information application.
Intermediate Projects
- Blog website with an admin dashboard.
- Notes application with user authentication.
- Product listing and shopping cart.
- Expense tracking application.
- Movie search application using an API.
Advanced Projects
- Full-stack e-commerce application.
- Learning management platform.
- Social media application.
- Real-time chat application.
- Project management dashboard.
You don’t need to build all of these.
Choose one project that interests you and complete it properly. Focus on making it functional, responsive, understandable, and easy to use.
A finished project teaches you more than ten unfinished tutorials.
My First Live Portfolio
One of the most memorable moments in my learning journey was putting my own portfolio website online.
After spending time learning the basics and experimenting with different technologies, I finally had something I could share with other people.
My first portfolio is now live on GitHub Pages:
It might be a small beginning, but every developer has a starting point.
A portfolio website is more than just a collection of projects. It gives you an opportunity to present your work, share your learning journey, and show what you can create.
You can include your introduction, technical skills, projects, contact information, and links to your GitHub repositories.
And remember, your first portfolio doesn’t need to look perfect. You can improve it as your skills grow.
One day, you might look back at your first website and realise how far you’ve come.
A Beginner-Friendly Full Stack Roadmap
If you’re starting from zero and wondering what to learn next, here’s a simple roadmap based on the technologies discussed in this article.
| Learning stage | Technologies and concepts |
|---|---|
| 1. Frontend basics | HTML, CSS, JavaScript |
| 2. Modern JavaScript | ES6+, DOM, Fetch API, Async/Await |
| 3. Version control | Git and GitHub |
| 4. Frontend development | React.js, TypeScript |
| 5. State management | useState, useContext, Redux Toolkit or Zustand |
| 6. Backend development | Node.js and Express.js |
| 7. Database | MongoDB or PostgreSQL |
| 8. Authentication | Sessions, JWT, Firebase or Clerk |
| 9. File handling | Multer and cloud storage |
| 10. Testing | Jest, React Testing Library, Postman |
| 11. Code quality | ESLint and Prettier |
| 12. Deployment | GitHub Pages, Vercel, Netlify or Render |
You can follow this roadmap step by step, but don’t treat it as a strict checklist that you must complete as quickly as possible.
For example, after learning HTML and CSS, build a website. After JavaScript, create an interactive application. After React, build a project with multiple components. Then introduce backend development and databases.
The goal is to connect your knowledge through practical work.
You can also explore Next.js after becoming comfortable with React. The official React documentation now recommends starting new React applications with a framework when appropriate, and Next.js is one of the options. This is a useful next step once you understand the fundamentals.
Common Mistakes Every Beginner Should Avoid
Learning web development can be exciting, but there are a few mistakes that can make the journey unnecessarily difficult.
1. Trying to Learn Everything Together
There are hundreds of technologies in the development world. You don’t need to learn all of them. Focus on one technology at a time and understand its purpose before moving forward.
2. Watching Tutorials Without Building Projects
Tutorials are useful, but watching someone else write code doesn’t automatically teach you how to solve problems. Practise independently and experiment with what you’ve learned.
3. Changing Technologies Too Frequently
One day you’re learning React, the next day you’re exploring Angular, and after that you’re thinking about Vue. Exploring is good, but constantly changing your learning path makes it difficult to build strong foundations.
4. Ignoring JavaScript Fundamentals
Frameworks can make development easier, but they don’t replace the fundamentals. Spend enough time understanding JavaScript before moving into advanced React concepts.
5. Being Afraid of Errors
Errors are part of programming. Sometimes a small mistake can take an hour to fix. Instead of getting frustrated, read the error message, understand the problem, and try different solutions.
6. Comparing Your Progress with Others
Every developer has a different learning journey. Some people learn quickly, while others need more practice. Focus on your own progress instead of comparing your first project with someone else’s tenth project.
The most important thing is to keep learning, keep experimenting, and keep building.
Conclusion: Your Journey Starts with One Line of Code
Looking back, my journey from knowing nothing about web development to building and deploying my own website has been full of learning, experiments, mistakes, and small achievements.
I didn’t become a full-stack developer in one month, and I didn’t understand every technology immediately. I started with HTML, moved to CSS and JavaScript, explored React, learned backend development, worked with databases, and eventually deployed my own projects.
Every step helped me understand something new.
And that’s the beauty of programming. You don’t need to know everything before you start building. You learn by creating, experimenting, solving problems, and improving your work.
If you’re a beginner, here’s my advice: Start small. Pick one technology. Build something simple. Make mistakes and learn from them. Then move to the next step.
Don’t worry about becoming an expert overnight. Focus on becoming a little better with every project.
Because every great developer was once a beginner who decided to write their first line of code.
My journey started from zero, filled with mistakes, challenges, and continuous learning. Every step helped me grow as a developer. And this is just the beginning of my journey from zero to Stack Hero!
Your turn now. What are you building today?